Showing posts with label Part 1. People aware. Show all posts

Thursday, 25 October 2012

Some more portraits...

In an earlier blog reflecting on my assignment I mentioned I have some guinea pigs lined up to shoot.

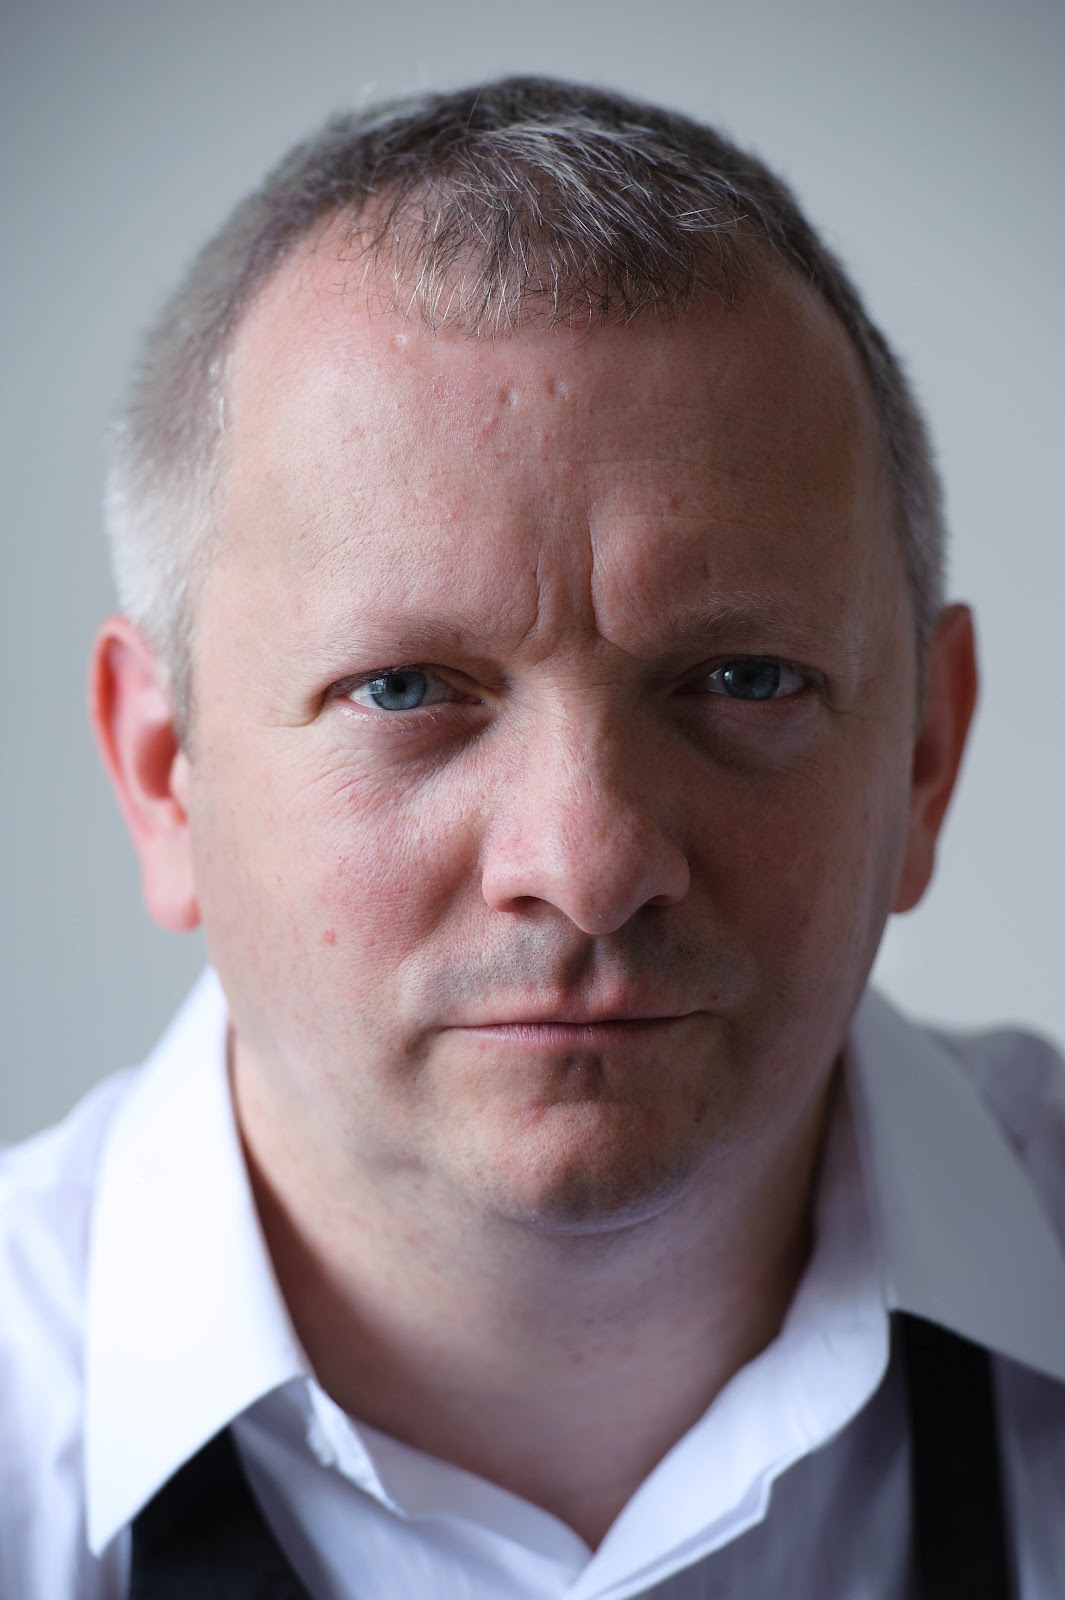
Well here's my bro!

Taken in his tool shed.  You can see the ladders hanging on the wall in the background.  Taken using natural light.  I like the way the light is falling on his face and brings out the textures and curves.  

I feel this shot has a bit of painterly feel to it.  I like the expression.  I dodged and burned the face to bring out the detail and added some contrast and clarity.  

Trying to shoot him indoors drumming wasn't easy (I didn't have a flash).  I'm not sure if I like this shot or not.  I like the way you can see the movement of the drumsticks but I feel that maybe it would be a better composition if you could see more of his face.  I do like the busyness in the scene.  It adds intensity.  

Monday, 1 October 2012

Assignment 1 - A portrait

For this assignment, I had to create five to seven portraits of one person drawing from what I have learnt in this section of the course.


Thursday, 27 September 2012

Exercise 7: Focal length

Head and shoulder portraits or of the face generally favour a medium to long focal length.

Being too close to your subject makes them feel uncomfortable and it is recommended to give them 2 metres space.  Therefore a focal length of 80-120mm works well.  I use a 70-200mm lens for my portrait work which allows me to get further away from my subjects.  

Another reason why a longer focal length is important is because by flattening the perspective all the facial features are shown close to their true size.  A wide angle lens used up close distorts the facial features and exaggerates the size of the nose etc.  Not a very flattering look. 

18mm
You can easily see that the facial features are distorted with the nose looking extremely big. 

50mm 
This looks much better with the facial features looking more realistic.


105mm
Here the facial features look best and in the best perspective. 


Sunday, 23 September 2012

Exercise 8: Varying the pose

Up until now the course has focused on the face in portraits including expression and how it contributes to a successful portrait.

Once we pull back from the face to include the body another variable comes into play - the way the figure arranges itself.

Pose or stance can be seen as the body's expression.  Certain positions, or the way the person stands, sits or leans are more elegant or expressive that others.

For this exercise I had to do some research in magazines and online to see the many different types of poses that are used in portrait photography.  I came across this useful guide which can act as a starting point on the Digital Photography School website.

I then had to set up a portrait session and shoot my subject in three different poses.  Within these I had to suggest as I shot different limb positions.

Due to a shortage of models at my disposal I used my sister for this shoot too and therefore doubled up with a previous exercise.

Sitting with legs crossed

I don't think this is as flattering directly facing the camera as it tends to distort the person slightly.  

I think with the camera angle altered slightly this pose is more elegant and attractive. 


Standing
There's something a little unnatural about this pose.  Perhaps the subject's hand is too high and doesn't look like a natural thing to so.  


I think this is a more natural looking position for the hands and arms. 


Leaning 
Image of subject leaning into hands.  I feel looking back at this image the subject was leaning too heavily into her hands.  


Exercise 6: Review a portrait sequence

For this exercise I had to set up a portrait session in a formal and structured way so that framing and setting is consistent.

I had to take at least 20 shots exploring the possibilities and fine nuances of expression.  The essential element was focussing on the subject's expression and pose assessing it from frame to frame in order to select what I consider to be the best of the sequence.

From my notes I have written down what I felt the progress of the shoot as well as what I considered to be the best.

My notes read:

I felt at the beginning of the shoot my subject was more tense, less relaxed and the entire shoot was in danger of having a look and feel of formality to it that I was trying hard to avoid.

To counteract this, I added some humour to my directions and chit chat and also showed her some images as I went along.  I feel this relaxed her and once she began to have more fun, the expressions became more interesting.

I was helped too by the gentle breeze that day which gently when it came our way blew her hair back giving a fresh look and active feel to the shots.  They didn't look so dead, flat and formal.

I felt the smiling shots were best with a couple of varied poses.

When I reviewed the images in Lightroom after the shoot I found that some of the images I shot at the beginning were better than I thought.  I also found that some of the images that I thought were good were not as good as I initially thought.


It is difficult to really see or get a true feel for the image by looking at the monitor on your camera.  It is too small to see some of the finer nuances and facial features.

I feel I was guilty of stopping shooting once I thought I had the best shot (in my opinion solely from looking at the camera's monitor).  However, I did shoot a few more just to make sure I had more to chose from.  I am glad I did this as some of those images from the continued shooting worked out to be the best.


This image was one of the last ones I shot and I like the relaxed and informal feel to it. 

This images was shot at start just as the subject was becoming a little more relaxed.  She doesn't look as relaxed as in the above.  


Thursday, 20 September 2012

Exercise 5: Eye contact and expression

There is a difference between the overall look of a portrait when the character is looking straight at the camera and away from the camera.  To date I have been shooting mostly with the subject looking at the camera.  I suppose I have avoided looking away from the camera as it doesn't seem quite as comfortable to shoot.  For example of they are looking too far away you can't see their eyes properly or indeed if they are facing the side you may only be able to see one eye which done properly can look good but badly can look quite odd.

For this exercise I had to shoot a portrait session with the subject looking at the camera and away from the camera.


Looking at the camera


Looking away from the camera

It was not as hard as I thought it would be to shoot with the subject looking away from the camera.  I think once I got used to directing them to where I wanted them to look it became easier.  

Having the subject looking away from the camera makes the viewer look in the direction the they are looking to see what they are looking at.  This can be a useful way of shifting your viewer's attention to a different area of focus.  

Wednesday, 29 August 2012

Expression

Facial expression is the most important element in a portrait.  It is concentrated not just in the eyes but in all the facial features.

You can watch and wait for an expression from your subject or you can encourage them to produce one you  may have in mind.  It is important to build a rapport with the person to achieve this.  Ways in which you can do this are by getting out from behind the camera to allow eye contact.  To do this you can shoot tethered (if you have enough money for the software) or by using a tripod.  Both leave you free to talk to your client/model/subject and both put them more at ease.  When people are less self-conscious and relaxed they are more likely to give you the best expressions.

At this point in time I'm not sure which is easier - shooting a complete stranger or a friend or family member. To date I have shot strangers in previous jobs but they were simply quick head and shoulders shots where they could spend 5 minutes of their time for you to photograph them.  I found that difficult because of the time constraints but also because when you turned up they had little to no time for chit chat.  However you should at least always try!

Shooting family members is not as easy as it seems either.  I've been asking my family to pose for me for the last few weeks and have had little to no takers.  My poor husband has been the subject of all the exercises for this first section of the course.  I have managed to line up my sister to pose for assignment one so that is a result.

There is one advantage to shooting someone you know quite well and shooting them a lot - you get to practice. And with practice comes confidence.  I need to build my confidence in taking pictures of people and I need to make them feel confident in my abilities to photograph them.

Here is a shot of my mum who kindly took ten minutes out of her busy life to pose for me.  She hates having her picture taken so she was a bit of a challenge.  At first she was quite rigid and not at all relaxed.  However as I kept talking to her she began to ease up.  The more I pressed the shutter the more she realised that she couldn't just stay still and it would be all over in one exposure.  And it was when this happened that she chilled a little and began to see it as fun.  And then  she gave me this look....


Tuesday, 28 August 2012

Exercise 4: An active portrait

For this exercise I had to ask my model to perform some kind of activity for me to shoot.  It was advised that fast-moving activity should be avoided to prevent the exercise becoming too difficult.  Instead I had to look at a more sedentary activity and what better than reading...

I also had to concentrate on the person's face rather than trying to show the activity they were carrying out.

I chose to convert the image into black and white so the focus would be more on the person without the distracting colours of the sofa cushions and bookshelves in the background.

The subject is edge lit and this lighting draws the viewer into the shot and onto the subject.  You can see that he is engrossed in his book, deep in though and very relaxed.  And very much oblivious of the camera which I feel makes the image even more realistic.


The colour version for reference.


Activity and the contextual portrait

This part of the course looks at active portraits and the benefits of getting your subject to occupy themselves with something.  This usually centres around the subject holding something or demonstrating how something is done.

The most common variants of the active shot is the interview shot which you see in many magazines.  You can capture facial expressions easily this way but you have to be careful not to let their hands get in the way or have their mouths gaping open.

A contextual portrait
A very effective way of making a portrait is to shoot someone in the context of what they do.  For example, a chef cooking preparing food or a painter painting.  This type of approach aims to tell something about the person, what they do and how they do it.

This can be seen as a form of photo-journalism.

By encouraging the subject to be themselves and to do whatever comes naturally to them you can catch them  unselfconciously.

This is also useful as it removes an self-consciousness the person has about being photographed.

Monday, 27 August 2012

Exercise 3: Experimenting with light

Different lighting can provide a different mood or effect for the images you create.  Although I don't have studio lighting I have experimented with the flash I have and natural daylight to try and get a different type of shot.

I haven't tried this much with people, so this exercise was pretty much a first for me.  

I used a combination of flash and natural daylight for these shots. 

With tight framing the distraction of the background is limited and therefore the shapes of the face are more apparent.  


This picture was taken in natural daylight that was coming into a lookout hut at the top of a cliff.  The day was overcast so I had a diffused light source to work with.  
This light on one side of the subject's face gives shape and character to the subject and defines the facial characteristics. 


This shot was taken inside with the subject sitting near a window.  I chose to underexpose the shot to remove as much as the background as possible and to focus more on the light that is actually hitting the left side of his face.  This type of low key lighting adds mood to the shot.  


Again taken indoors near a window with natural light.  I placed a piece of white card to the right of the subject to bring out some of the detail in the shaded part of the face.  


Natural light with a homemade reflector used to bounce some light back into the shaded part of the subject's face. 


Taken using flash and a piece of white card to open up the shaded area of the face. 


Perhaps a little adventurous - but I used a snoot to illuminate only the eyes in this shot.  It makes for a different style of portrait and adds a little mystery to this image.  


Exercise 2: Thinking about location

I had the role of location hunter for this exercise.  I had to find six different locations and backgrounds that would be suitable for shooting a portrait.

It was suggested that I should bring my camera with me to as many places to take reference pictures.  Not always practical but I do have an iPhone now so I can take recce shots using that.  

The locations had to be suitable for an entire body shot or torso portrait which makes sense because you don't actually get an awful lot of background into a close up shot.  

Here are some of the locations I found.  

Stone wall. 
I'd been staying at my Mum's house in Ireland when I noticed this old stone wall.  Stone walls similar to this have made a big comeback in the building trade and can be seen on nearly every new build across the rural countryside.  I felt the old fashioned and authentic stone wall would make an interesting backdrop for a shot of a local.  Or in this case my husband posing like a local.  


Another location I spotted in my house was these bookshelves.  They provide a consistent tone and texture and would make a good backdrop for a portrait of a scholar/writer/academic etc. 


This bench in a park would be suitable for a full body portrait or you could zoom in closer and use the trees as a background.  

This bridge in the trees would make an interesting place for a portrait. 


For a young portrait with a modern feel, this backdrop with the faded graffiti provides a solid toned and even textured background. 


I like the available light in this tunnel near London Bridge and I feel it would make a good location for a shoot. I would probably need to use flash though to illuminate the person's face or try and make use of the available light. 


Sunday, 26 August 2012

Settings, backgrounds and locations

Portraits do not have to be restricted to showing the face or person alone.  We can also show the location especially when it is relevant to the person or is particularly interesting.

With the exception of the studio portrait where the shot is of a person with a blank background, all portraits of people take place in a definable setting.

The more importance given to the setting the smaller the person/subject will be in the frame.  This can be achieved by using a wide angle lens or by shooting from further away.

A suggested checklist for a setting:

  • Is it reasonably consistent in tone and features?
  • Does it complement or contrast the person? 
  • Does it need tidying and or cleaning? 
  • Are there unnecessarily distracting objects in view? Clashing colours, images and or words on posters etc? Do they add or subtract? 
It is important to fine tune these skills for hunting a location as you may not always have the time to do a detailed recce.  Perhaps it is a good idea to have a mental list of potential places for portraits so you always have something to fall back on.  


Thursday, 23 August 2012

Exercise 1: Portrait - scale and setting

This exercise explores the weight of attention to put on your subject's face.

I had to shoot 4 images of my subject:

  • Face, cropped in close
  • Head and shoulders
  • Torso, taking into account arms and hands
  • Full figure
I opted to use my 70-200mm lens for this exercise and I varied my position and the focal length to create my final images.  

Face, cropped in close.  
This is the closest crop I could get of the face as autofocus wouldn't work on a closer crop.  I considered using manual focus however it was a very windy day and I was finding it hard to keep the camera still. My tripod isn't solid enough for this kind of wind!

Head and shoulders.  I probably would have liked to get more of the person's right shoulder in the frame to balance out the shot a bit more. 

Torso, taking into account hands and arms. 
I opted for the hands in pockets pose which gives a very casual, informal and relaxed feel to this portrait. 

Full figure. 
Again I opted for the hands in pockets pose this time with the legs apart and one slightly bent.  I felt that this kept the informal, relaxed feel to the image carrying on from the previous shot. 


This exercise has introduced me to the various 'classic' poses that can be used in portraits.  I suppose prior to this I was more concerned about the face and less about shoulder position, where the hands are and stance.  Now that I have experimented with positioning I will be able to work more on it in future shoots.  


Portrait framing

The classic portrait framing composition include the torso, head and shoulders.  The position of the shoulders and the tilt of the head are important.  If they are square on they can give a more formal and cold feel to the portrait.

If the head is upright and straight into the camera it gives the look of honesty and solidity.  Perhaps a good composition for corporate shots.

With the head tilted to one side, a look of coyness can be seen in the image.  Tilted to the other side it can look quizzical.

Cropping in on just the face can produces an intimate portrait but needs care in technical matters like lens, lighting and depth of field.  The background should be out of focus with the sharpness concentrated on the eyes.

If you pull back you get to show the subject in a different way.  You lose the expression of the face but you are able to capture body language.

The list of possible poses is endless but here's a few I've found online that I can refer to for guidance.

http://digital-photography-school.com/how-to-take-portraits-19-portrait-photography-tutorials